- only the Administrator can access the Tools function.
The Users Setup function is a method for setting up users of the application and grant various accesses and responsibilities.
- only the Administrator can access the Tools function.
 - Account Codes should be set up before Users as the Users will be assigned the various rights to functions and account codes. However, if Users are set-up first, once Account Codes are defined then return to User Setup and assign the users to the various account codes.
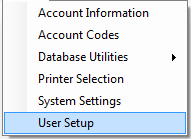
1. From the Main menu click Tools:

2. Move the mouse over Users Setup and click this option:
3. The configuration screen appears with the Administrator, the Functions and the Account Codes:
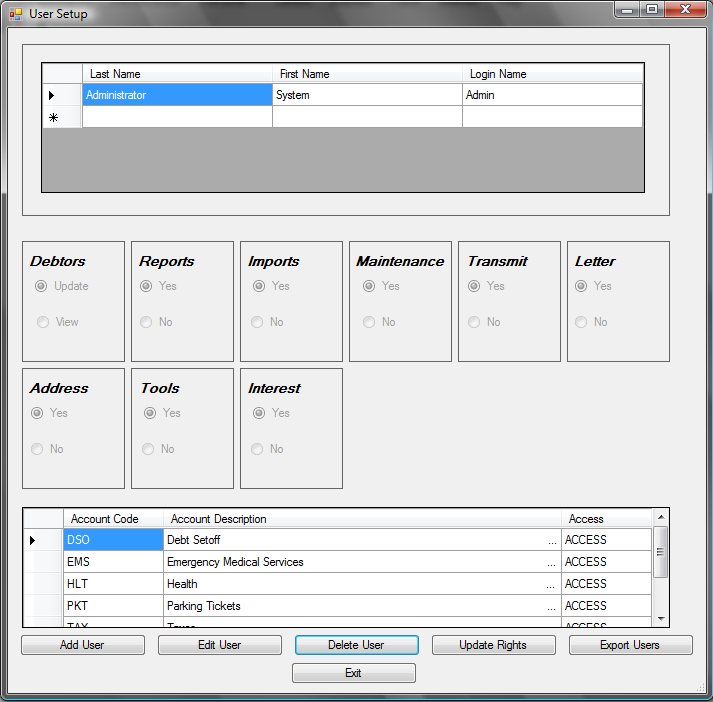
- add a new User - Name, Login name and Password
- edit an existing User - Name, Login name and Password
- delete an existing User
- change the rights to the different function groups and account codes
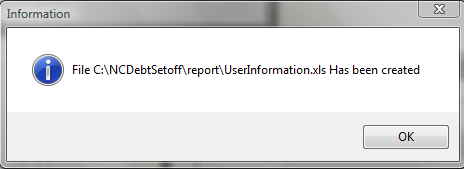
- creates an excel file of the Users Names, Department, Title, Email Address and Email Distribution groups. The password is not included.
- returns to the main menu
4. User Options;
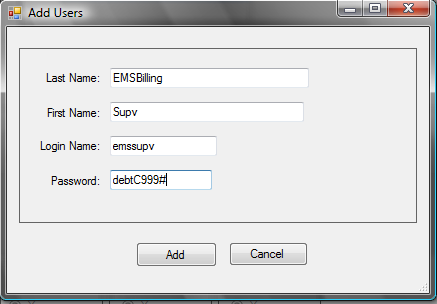
a) Add Users:
- Click
for the following:

- Enter the following items:
- Last Name [REQUIRED] [25 characters maximum]
- First Name [REQUIRED] [25 characters maximum]
- User Name [REQUIRED] [10 characters maximum] - recommend using the network access login
- Password [REQUIRED] [10 characters maximum]
- User Name and Password are used on the Sign In screen

- An example of an Add User:
- Click
to add this user
- Click
to abort without adding this user
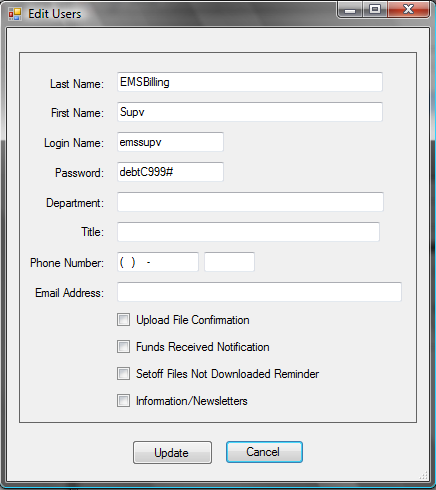
b) Edit User:
- Click to highlight the desired User to edit and click
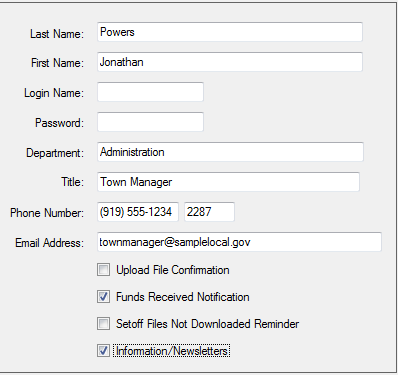
- The following dialog appears:
Change any of the following:
- Last Name [REQUIRED] [25 characters maximum]
- First Name [REQUIRED] [25 characters maximum]
- User Name [REQUIRED] [10 characters maximum] - recommend using the network access login
- Password [REQUIRED] [10 characters maximum]
Add the other information:
- Department [REQUIRED] [48 characters maximum]
- Title[REQUIRED] [48 characters maximum]
- Phone Number [REQUIRED] [10 characters maximum]
- Phone Number Extension [OPTIONAL] [5 characters maximum]
- Email Address [REQUIRED] [50 characters maximum]
- Check all boxes for the desired types of email distribution groups:
- Upload File Confirmation -when a file is uploaded via the transmit-Export to Clearinghouse option
- Funds Received Notification - when a setoff file is ready from the Dept. of Revenue/Education Lottery
- Setoff Files Not Downloaded Reminder - when a setoff file has not been downloaded within 7 days
- Information/Newsletters - for workshop information, newsletters/guides, software upgrades, etc.
- A sample of someone who will not need access to the software but wants various email types:
- Click
to apply the changes and receive a confirmation screen:

- Click
to abort without saving the changes
c) Delete User:
- Click to highlight the desired User to delete and click

- The following dialog appears:
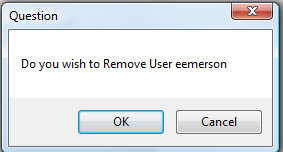
- Click
to delete this user, a confirmation screen:
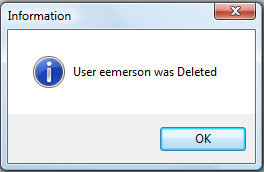
- Click
d) Update Rights:
- when a User is Added, there are no rights to any functions or Account codes, so they are defined in the Update Rights
- Click to highlight the desired User

- The User's functions and Account Code rights appear:
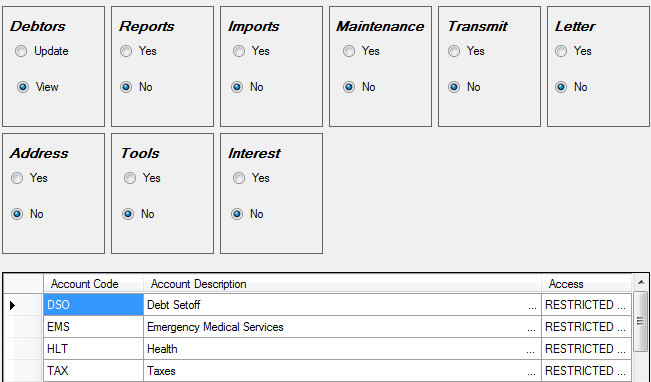
- All nine of the functions categories can be edited individually:
- Debtors
- Click
to set this user to have full access (add,edit, delete) to this function
- Click
to restrict user from adding, .editing or deleting debtors
- Tools - only the Administrator can perform these functions, even if click Yes
- All Others - Yes (access to the menu options) or No (NO access to the menu options)
- Reports
- Imports
- Maintenance
- Transmit
- Letters
- Address
- Interest
e) Export Users
for the following: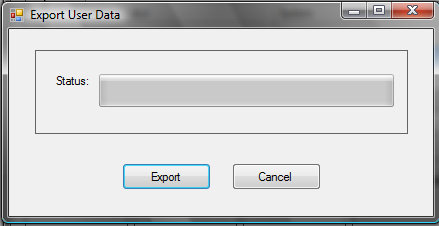
 to create an Excel file and for the following:
5. Click  to return to the Main Menu: